User Guide
Installation
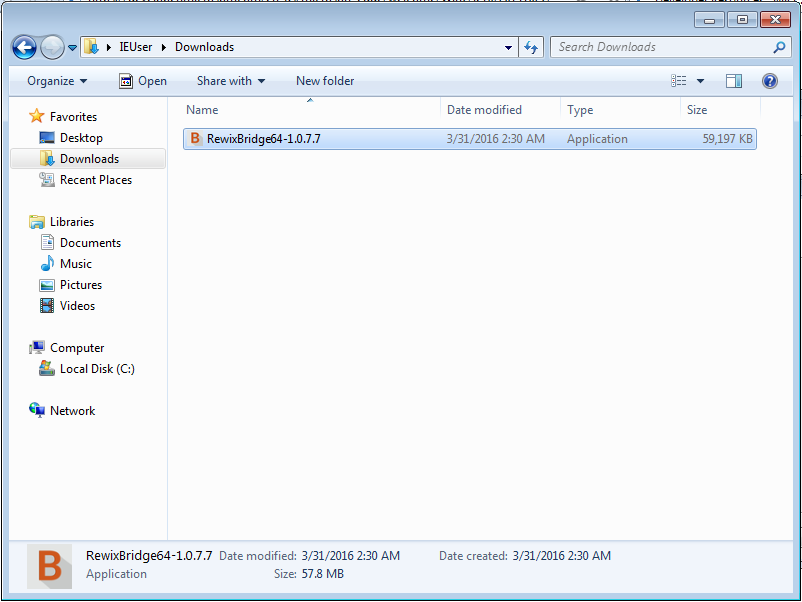
To install RewixBridge, download the install executable from shop.zero11.it.
After the download completes, double click on the file RewixBridge64-x.y.z.w.exe if you
downloaded the 64bit version or RewixBridge32-x.y.z.w.exe for the 32bit version. If you
have doubts on which version you have to download, please refer to "Which version of
Windows do I have?".
Once you have double-clicked on the installer executable, accept the security warning from your operating system by pressing "Run". The Install Wizard should appear on your screen.
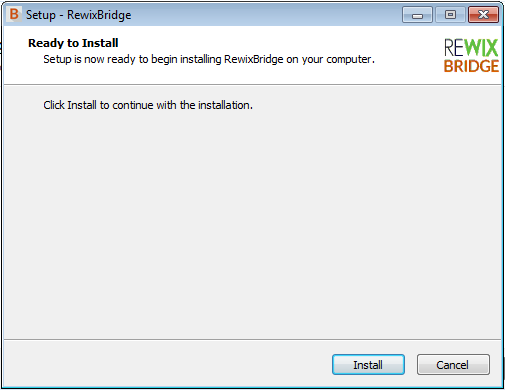
Press on the "Install" button to start the installation procedure. The installation may take a some minutes to complete.
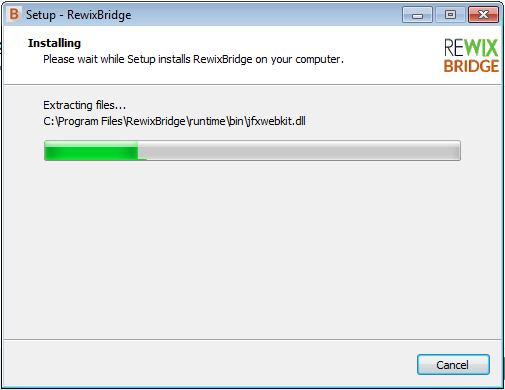
After the installation completes, RewixBridge will automatically start.
Configuration
The first time you open RewixBridge or if no accounts are configured, you will see the Welcome Screen like the picture below.
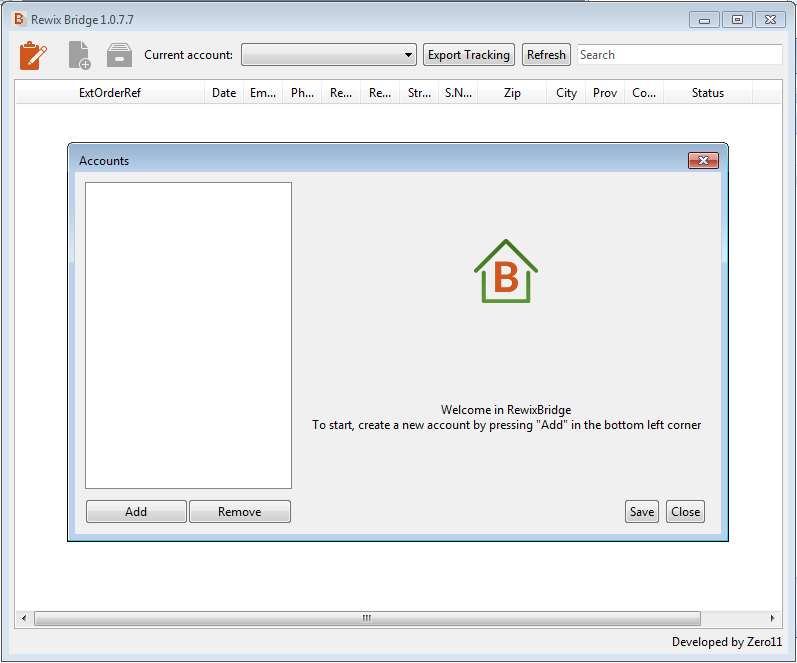
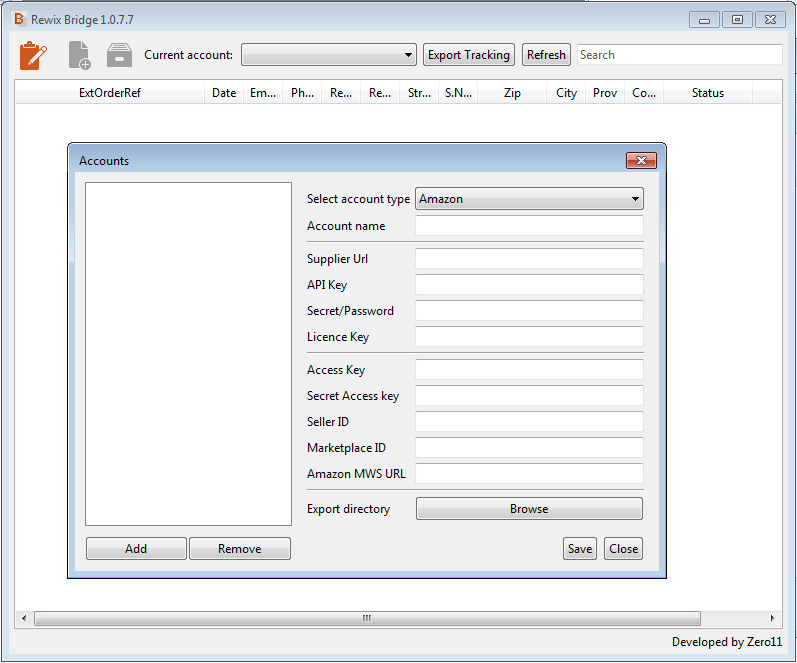
To add an account, click on "Add" button.
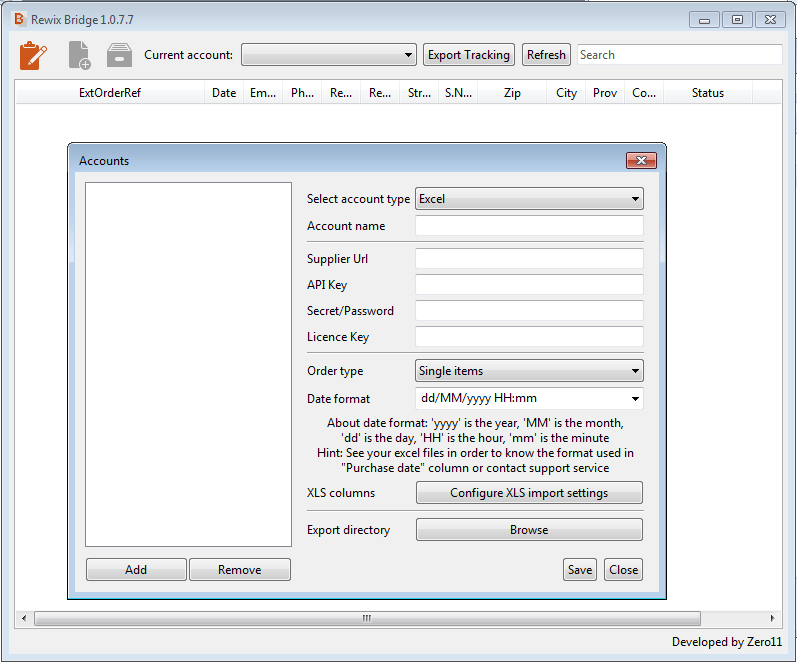
You can choose between two types of account:
- Excel, which from a
.xlsdocument synchronizes the orders to the remote platform. - Amazon, which from an Amazon account synchronizes the orders to the remote platform.
Excel
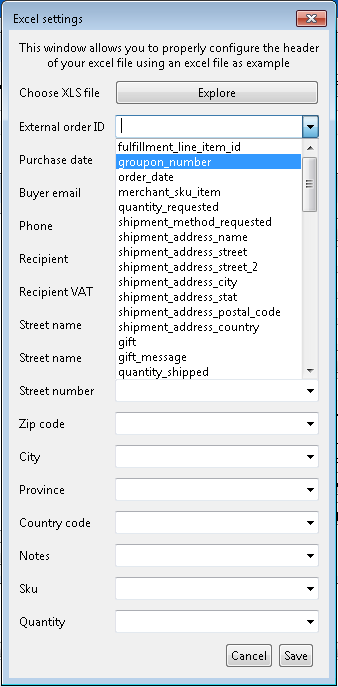
An example XLS document with some sample data can be downloaded here.
- Account name: A distinct name which uniquely identify the account.
- Supplier URL: URL of the supplier you want to send orders to.
- API Key: API key given by your supplier associated to the account enabled to use the integration.
- Password: Password associated to your supplier account enabled to use integration.
- Licence Key: Order ID from your purchase on shop.zero11.it.
- Order Type: How orders are listed in the XLS document, two choices are available:
- Single items: for each line of the XLS identifies an order.
- Multiple items: an order can be identified by more than one line in the XLS
- Date Format: Format of the date used the XLS document.
- XLS Columns: By clicking the button on the left the following dialog will appear on your screen.
- Export Directory: Select the directory in which the tracking codes of the orders will be stored.
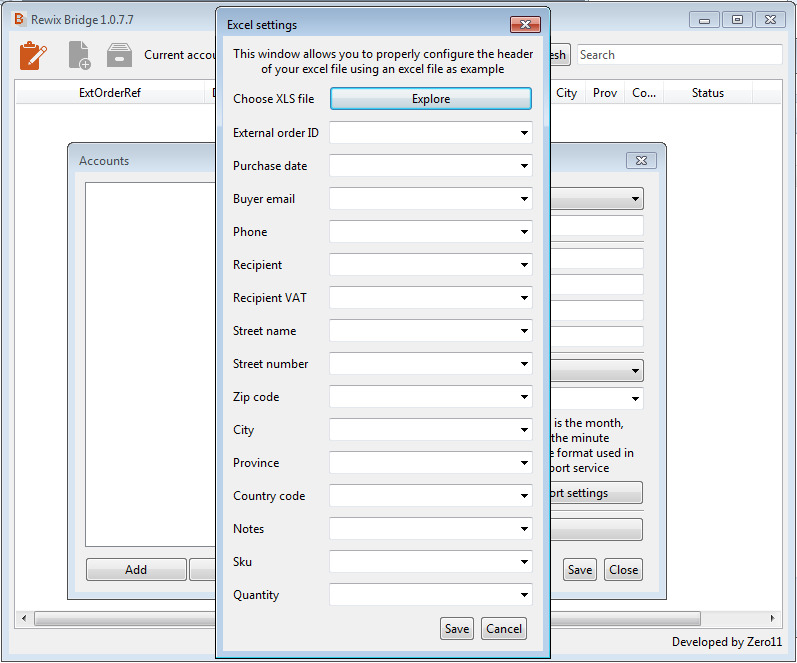
In this dialog you can specify the column name for each field in your XLS files. If you choose an example XLS file by clicking on "Explore" button, the combos will be populated with the columns in the XLS file. After you selected the field name for each field available press on the button Save.
Amazon